MENU

How to perform the Tramex Installation Quick Check Test

The benefits of the Installation Quick Check Test

The Installation Quick Check test for concrete was developed to help floor installers achieve successful floor installations. 

When a floor installer arrives on site, the concrete floor or slab has generally already been deemed ‘dry enough’ to receive a floor covering and might have been signed off by a floor inspector.

However, ASTM Standards specify that the space must be in "service condition" for at least 48 hours prior to performing moisture testing and that test results are only indicative of the conditions at the time the test is performed.

It is important to note that even if pre-installation moisture testing has been performed, ambient conditions can change in the interim and this may affect your installation of flooring or coatings. These changes in ambient conditions may affect the slab, for example by causing condensation on or in the floor's top layer. Covering the concrete slab in these circumstances could cause floor failure. 

So how can you make sure that the conditions are right for floor installation? By following these steps of the ’Installation Quick Check - IQC’ concrete testing method, floor failure can be avoided.
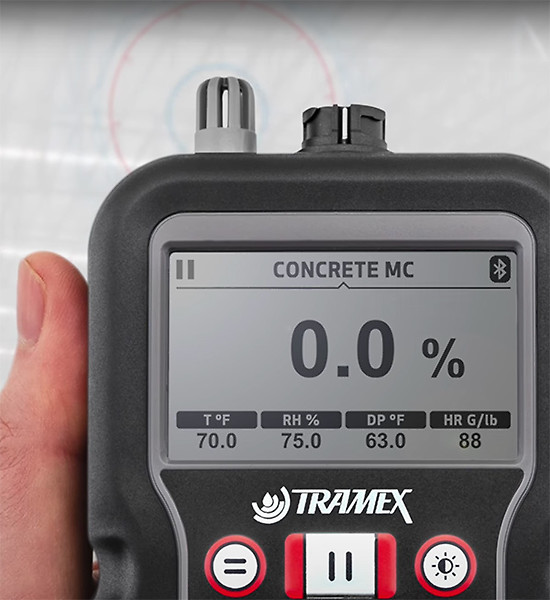
 

Concrete Moisture Test - Installation Quick Check

Step 1: Take readings of ambient conditions

When arriving on site, check the ambient conditions such as temperature, relative humidity and dew point using the Tramex Concrete Moisture Encounter X5 (Plus kit) or the Dew Point detector (Quick Check Kit). 

The in service temperature conditions should be between 65-85℉ or 18-30℃, and relative humidity readings between 40-60 %RH.

Take note of the ambient temperature, relative humidity, and dew point reading results in every location where installation will take place.

Take readings of ambient conditions
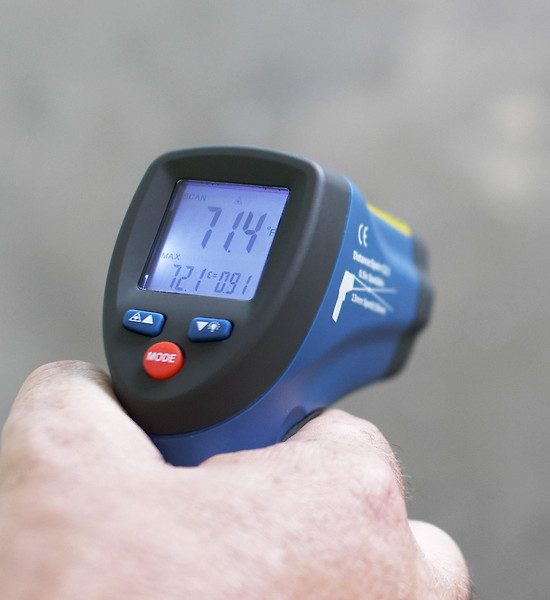
Check surface temperature of the concrete floor or slab

Step 2: Check surface temperature of the concrete floor or slab

Compare the surface temperature of the slab to the dew point temperature reading to indicate the presence of condensation, even if not visible, in the upper portion of the slab. 

The surface temperature of the slab should be at least 10℉ (5℃) above the dew point.

Use an infrared thermometer to measure the surface temperature and compare the result with the dew point reading obtained in the previous step to see if it is at least 10℉ (5℃) above the dew point.

Step 3: Measure the moisture content percentage with a non-destructive impedance concrete moisture meter

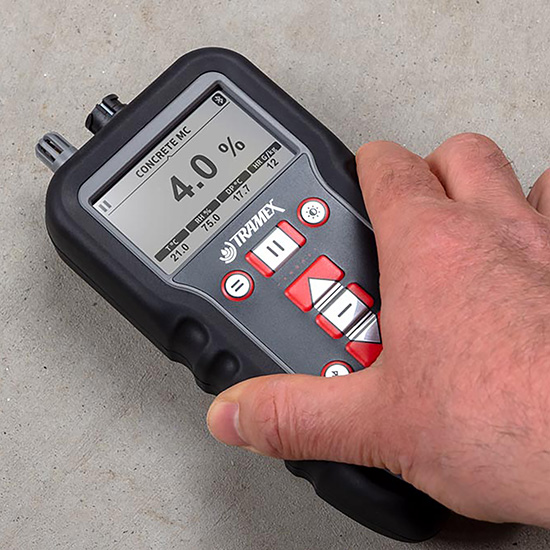
Carry out a non-destructive impedance test with a Tramex Concrete Moisture Encounter, CME5 or CMEX5, which provides a quantitative moisture content reading ¾ inch(20mm) into the concrete floor or slab.

non-destructive impedance test

Evaluating the test readings

Industry professionals generally recommend a moisture content of 4% for floor coverings and 3.5% for concrete coatings on newly-poured concrete. 

Always check the floor covering manufacturers' guidelines to see if your readings fall within the given recommendations. 

High moisture content % readings might be high due to dew point issues. In the case of a high reading, check the dew point and surface temperature.

If there is indeed a dew point condensation issue, it could be resolved by bringing the ambient conditions under control with controlled HVAC. Dehumidifiers and fans could be used to move the moisture out of the slab surface before installation commences. Using a moisture barrier in this case is not recommended as it would trap the moisture in the slab and could lead to mold issues. Watch our video below on how to correct dew point issues.

Repeat this Quick Check test after mitigation to ensure the moisture issue has been resolved before installation takes place.

How to correct a dew point issue on a concrete slab

Flooring Installation Quick Check Test Kits

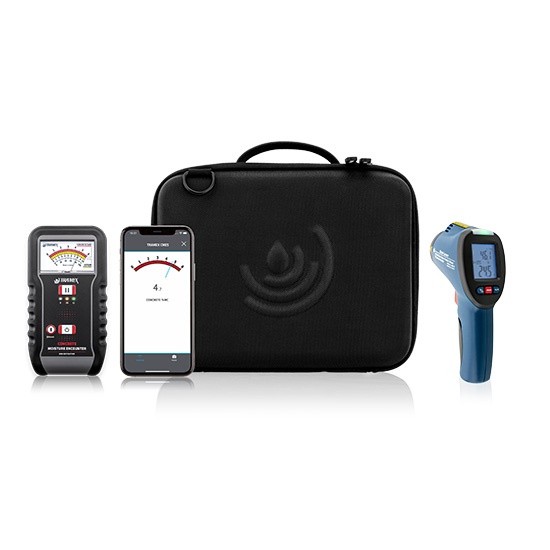
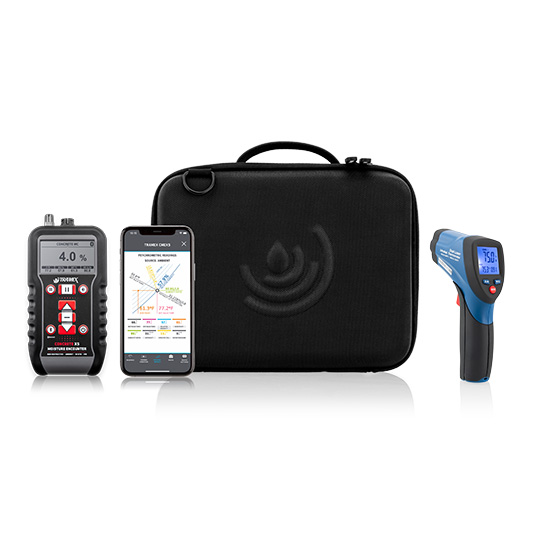
The Tramex Quick Check Kits, IQCK and IQCKP, contain all the necessary instruments to perform the full test.