MENU

Setup Procedure - Tramex Remote Environmental Monitoring System

Setting up your TREMS project

TREMS 10

Thank you for purchasing the Tramex Remote Environmental Monitoring System.

The following steps and procedures will help you set up your TREMS project. First you will register your monitoring equipment and then you can start your on-site project.

Register your monitoring equipment

To start using your remote monitoring equipment, it must be added to your free TREMS account on the Tramex Cloud, where your data will be kept safely and securely to view and report from any browser.

(We take privacy seriously, read our privacy policy to see how we work hard to secure your data.)

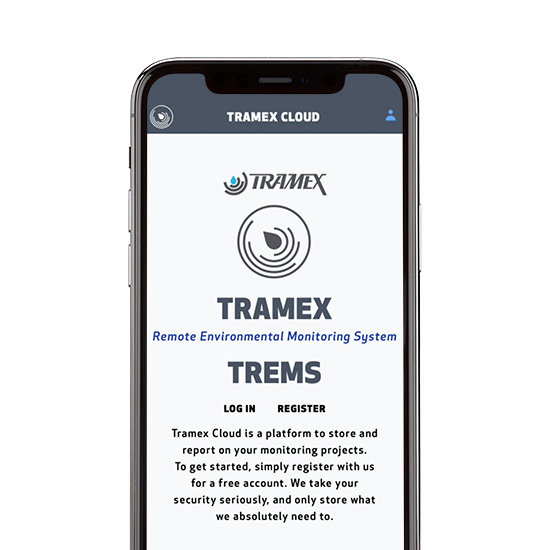
Tramex TREMS login page
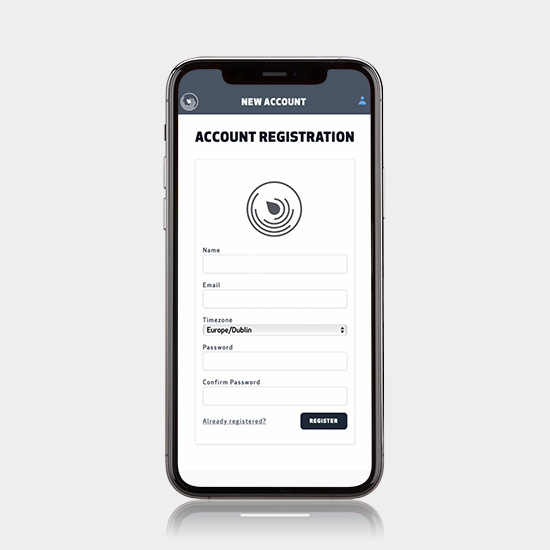
Tramex TREMS Account Registration

Step 1: Tramex Cloud account setup

Create a free Tramex TREMS account. Register at https://trems.tramexmeters.com/register and confirm your account by clicking on the email we’ll send you.

Step 2: Scan QR Codes

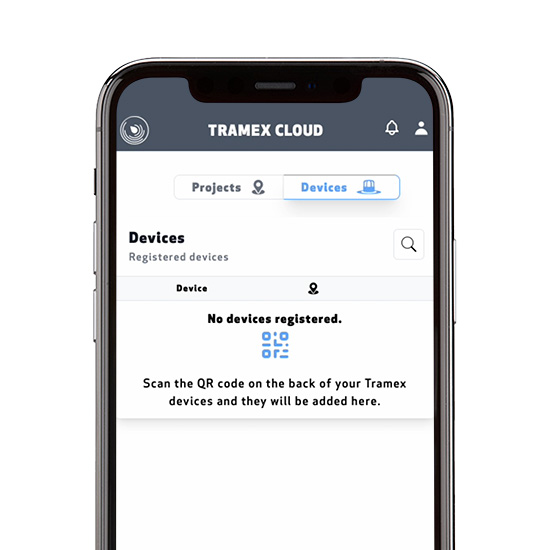
Scan the QR code on the back of each of your Tramex Cloud Sensors and Cloud Station with your mobile phone.

This will automatically register the devices to your account and it’ll bring you to the information page for that device.

Please Note: No data will flow from your Cloud Sensor unless it is added to a project location.

photo of scanning code
Starting a project

Starting a project

You are now set up and ready to start a remote monitoring project.

TREMS Projects are operated in two modes:

Setup Mode:

  • Used to control the flow of information into your project and arrange the layout of your locations and sensors.

Report Mode:

  • View your data in weekly reports. Adjust viewing settings, alert conditions and export and print data.

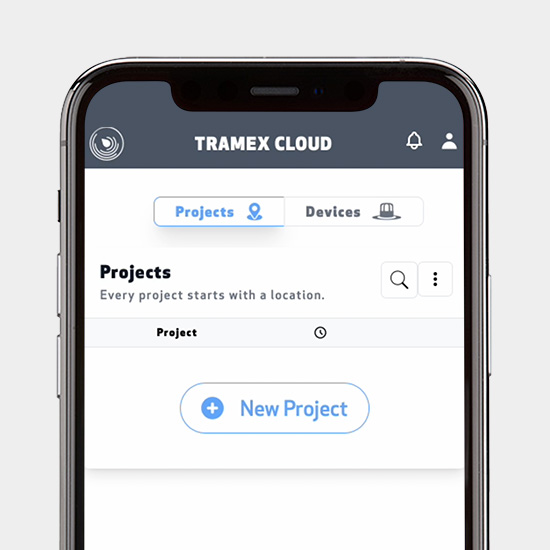
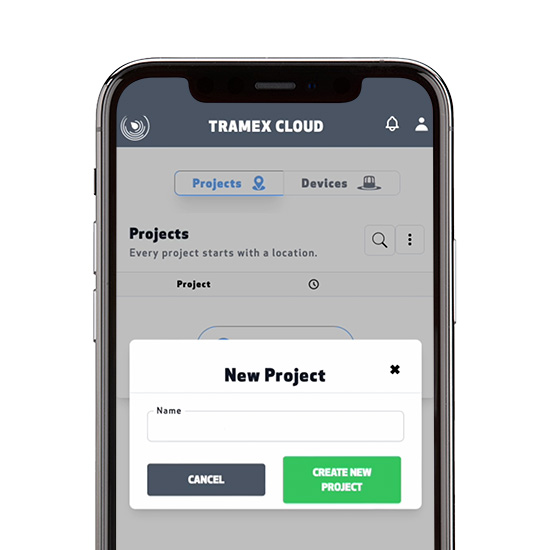
Step 1: Create your project

Create a new project in the Tramex Cloud. 

Make sure to name your project and provide the project description details for later reference.

Tramex TREMS Creating a new project
Tramex TREMS project setup

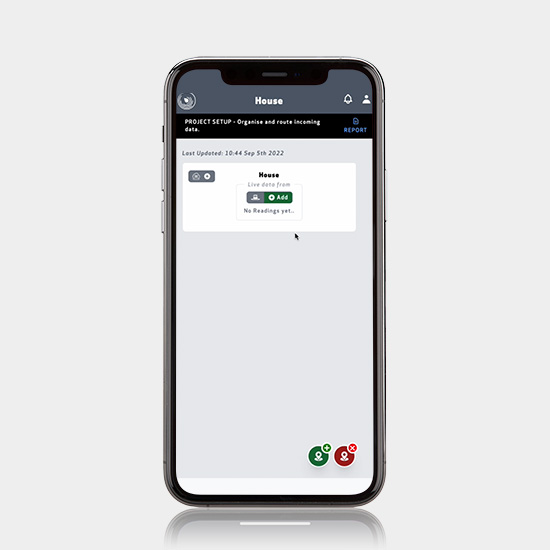
Step 2: Project Setup

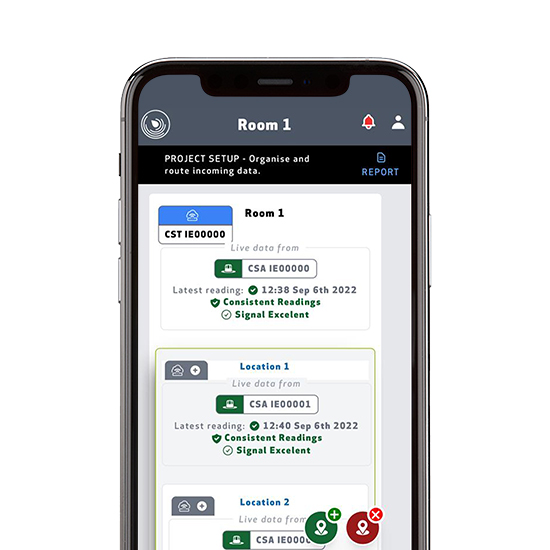
In project setup, you can create and organise the locations within your project.

Simply add locations with the green “Add location” button at the bottom of the screen, and drag and drop it into position. It can be useful to plan this out in advance using a floor plan for larger projects.

This controls the live data flow into your project, so each location can have a single Cloud Sensor. 

Please Note: No data will flow from your Cloud Sensor unless it is added to a project location.

Place the Cloud Station

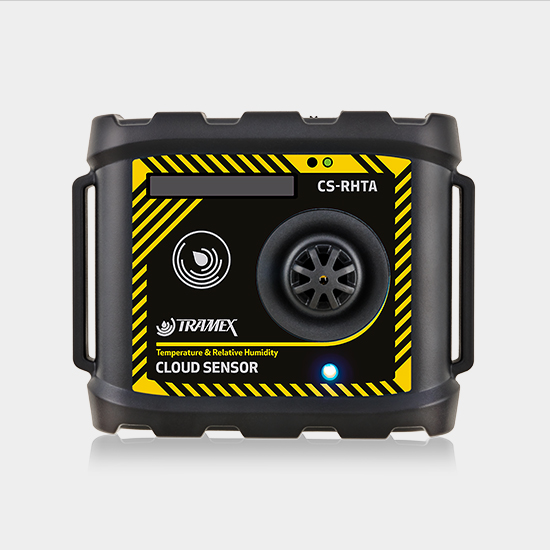
Attach both antennae and the power cable to the Tramex Cloud Station.

Place your Tramex Cloud Station in a central location within your Project that has mobile data connectivity.

Please note: It is advisable to use a UPS (Uninterrupted Power Supply) to ensure that there will be no interruption of data during the period of a potential power failure.

Position your Cloud Station and simply plug it in to switch it on.

Please note: Your Cloud Station can take 3 or 4 minutes to connect to the mobile phone network and be ready to use. This is indicated by the 4G light on the front of the Station.

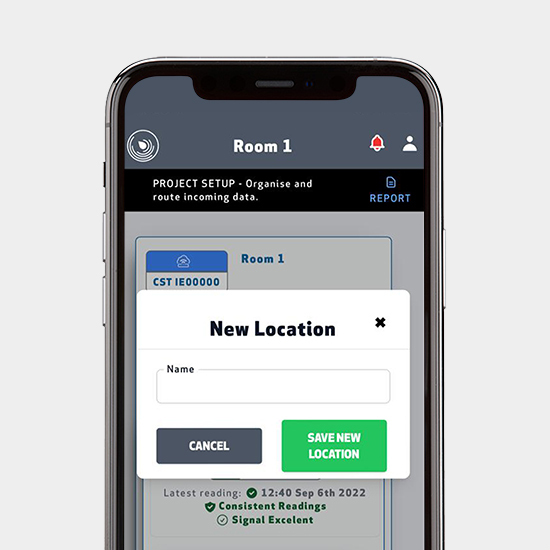
Create locations

Within your TREMS Project, you can create multiple locations. These represent the rooms or positions of your sensors within the building under test.

  • Create new locations in your Cloud Project into which you will place your Cloud Sensors.
  • Multiple locations can be created within a Project.
  • Sensors can be placed within these locations.
  • Each location can contain other 'more specific' locations into which you place the sensors.
TREMS Create new location
Enable Tramex Cloud Sensor, toggle the switch

Transmission mode

Your Tramex Cloud sensor is exceptionally frugal with energy, lasting greater than 10 years in constant use. To help extend its battery life, the sensor arrives to you in "Sleep Mode", where its battery usage is next to nothing.

To start using your sensor, enable "Transmission mode".

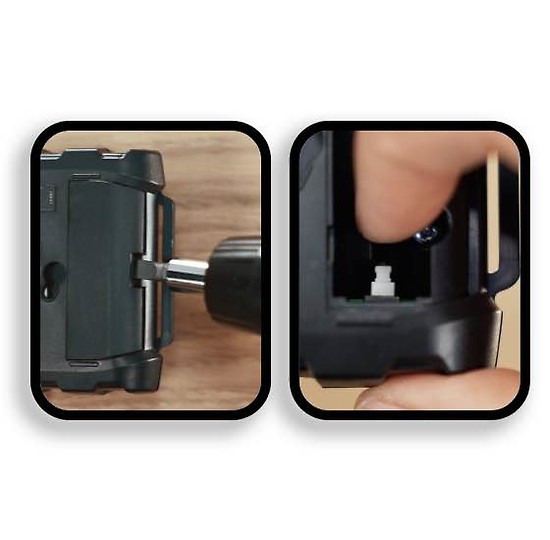
  1. Open the back compartment 
  2. Toggle the switch 
  3. Confirm transition mode by tapping the reset button, the light should flash twice to confirm it's sending readings.

Confirm Transmission

You can confirm your sensor is transmitting at any time, by clicking the "O/I" button on the top of the sensor.

1 Flash: the sensor is in "Sleep Mode"  - see the previous step.
2 Flashes: the sensor is in "Transmission Mode" and ready to be deployed.

Greater than 2 flashes:  the sensor has an error, contact us for help or more information.

Cloud sensor - light flashing
Trems Cloud Sensors in Locations

Place the Cloud sensors

  1. Position your Cloud Sensor in place.
  2. Assign your Cloud Sensor to a location within your TREMS Project.
  3. Click the device’s reset button at the top of the sensor.
  4. Refresh your Project page, to see that your data has been received and that the Signal is Excellent or Good.

Repeat this process for all the Cloud Sensors.

Viewing your Project data

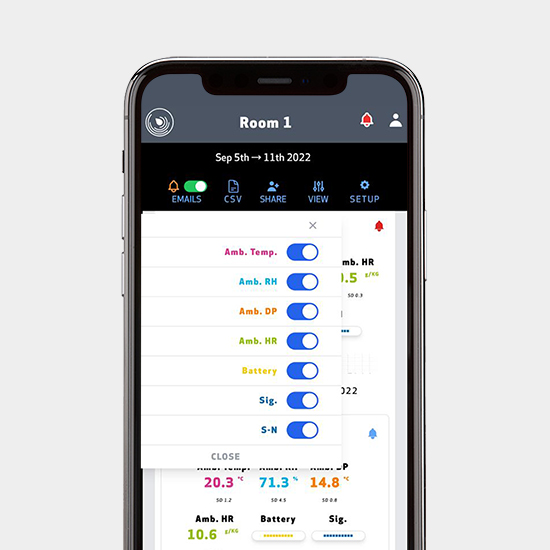
The Sensors will read the environmental ambient relative humidity and temperature conditions and the data will be visible in your Project immediately and can be viewed 24/7 from anywhere in the world, as long as you are logged into your Tramex Cloud account.

In your Project you can set parameters and alerts for each sensor and will receive notifications if any of the temperature and/or ambient relative humidity readings are outside of the set criteria.

TREMS Settings and Alerts
Sharing TREMS Reports

Viewing and sharing your Project data

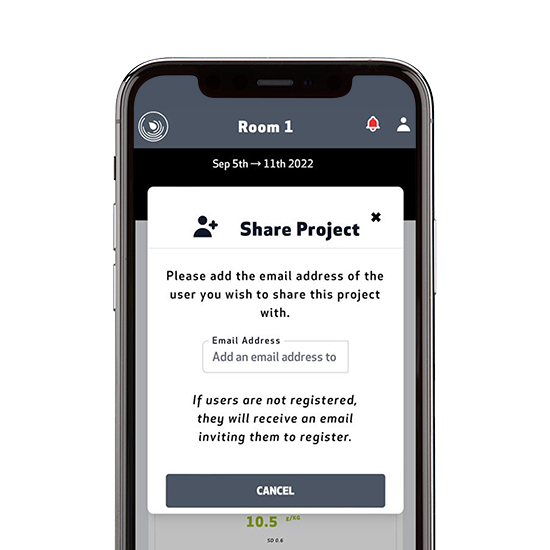
Reports can be shared by email. Click the share button and enter the recipients email address to allow them to view the project data.